Posts

Showing posts from 2020

How to Install Python IDLE on Raspberry Pi

Image
Equipment         1. Raspberry Pi         2. WiFi connection Step 1 Open a terminal window from Raspberry Pi. Step 2 Type following command in terminal. sudo apt-get install python3 Step 3 Type following command in terminal. sudo apt-get install idle3 Contact as Ridma Pramuditha Linkedln      -      www.linkedin.com/in/ridmapramuditha/ Email           -      pramuditharidma16@gmail.com                                        mercurylabs2019@gmail.com Design       -    Sanuja Ariyapperuma                               www.linkedin.com/in/sanujaariyapperuma/
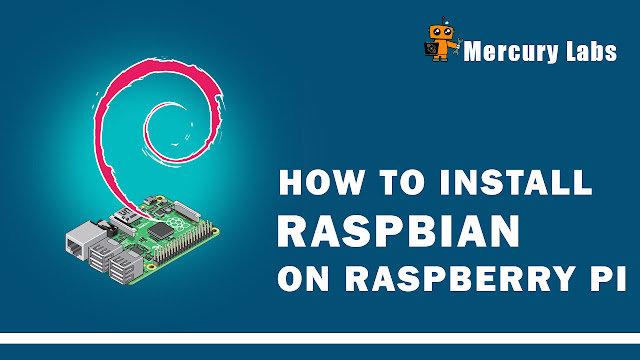
How to Install Raspbian on Raspberry Pi

Image
Equipment        1. Raspberry pi         2. Micro USB cable        3. SD card        4. Card reader or SD Adapter        5. Monitor        6. HDMI cable        7. Mouse and Keyboard Step 1 Download Raspbian OS.          The latest version of Raspbian on the Raspberry Pi website here Step 2 You need to install two softwares for that.          1.  SD Memory Card Formatter (Website here).          2.  Win32 Disk Imager (Website here) Step 3 Insert the SD card into your computer. Step 4 Format the SD card. Step 5 Open Win32 Disk Imager. Browse and select the downloaded Raspbian OS image file. Select the correct device your SD card. Click on the "Write" button. Step 6 Write is complete. Eject the SD Card. Step 7 Insert it into the Raspberry Pi. Turn it on Raspberry Pi. Contact as Ridma Pramuditha LinkedIn    -      www.linkedin.com/in/ridmapramuditha/ Email         -     pramuditharidma16@gmail.com                                       mercurylabs2019@gmail.com Design         -  

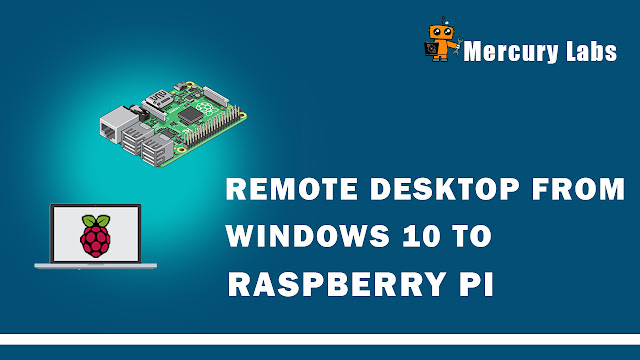
Remote Desktop from Windows 10 to Raspberry Pi 3.

Image
Equipment        1. Raspberry pi 3B / 3B+        2. Micro USB cable        3. Monitors        4. Laptop        5. WiFi connection Step 1 Connect the same WiFi in laptop and Raspberry Pi. Open configuration in Raspberry Pi and go to Interface tab. Enable SSH and VNC. Step 2 Open a terminal window from Raspberry Pi. Step 3 Raspberry Pi update and upgrade   First, update your Raspberry Pi by entering the following command.                     sudo apt-get update                                         Next, upgrade installed packages to their latest version by the below command.                       sudo apt-get full-upgrade                               Step 4 Type following command in terminal.                       sudo apt-get remove xrdp vnc4server tightvncserver           Step 5 Type following command in terminal.                       sudo apt-get install tightvncserver Step   6 Opening the Remote Desktop Connection  application on you

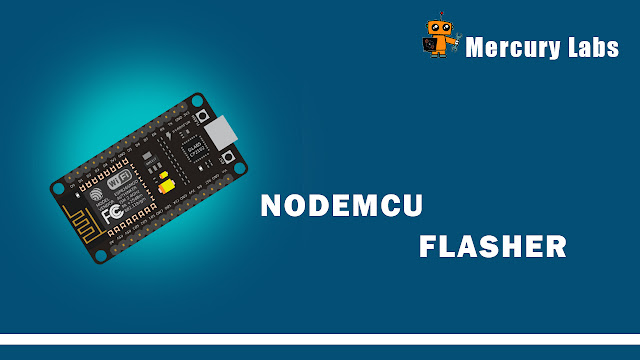
NodeMCU Flasher

Image
NodeMCU firmware in ESP Modules. NodeMCU flasher is a firmware programmer for NodeMCU DEVKIT. It will be cross platform and open source. Equipment         1. NodeMCU         2. Micro USB cable Step 1 Download this link. https://drive.google.com/drive/folders/1S_PLKzsrV63LZTRAMsS5HdAWQ54MiNvV?usp=sharing Step 2 Open the NodeMCU flasher master folder than open the win32/win64 folder as your computer. Now open the folder Release than double click ESP8266Flasher. Step 3 Select the COM Port.  Step 4 Go to config tab. Click on the small gear and open up the firmware. Step 5 Go to the advanced tab. Step 6 Go to the Operation tab. Click on Flash Button. Contact as Pramuditha Ridma Linkedln -  www.linkedin.com/in/ ridmapramuditha Email      - pramuditharidma16@gmail.com                   mercurylabs2019@gmail.com