Posts

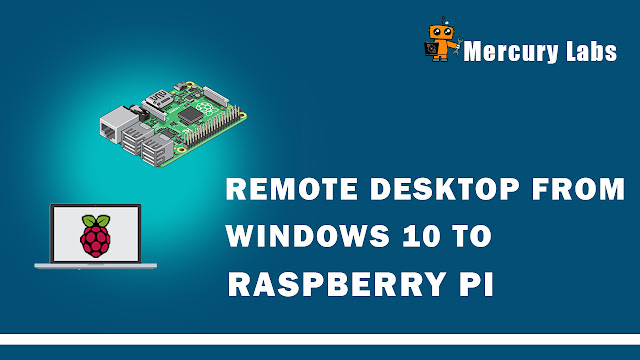
Remote Desktop from Windows 10 to Raspberry Pi 3.
Image
Equipment        1. Raspberry pi 3B / 3B+        2. Micro USB cable        3. Monitors        4. Laptop        5. WiFi connection Step 1 Connect the same WiFi in laptop and Raspberry Pi. Open configuration in Raspberry Pi and go to Interface tab. Enable SSH and VNC. Step 2 Open a terminal window from Raspberry Pi. Step 3 Raspberry Pi update and upgrade   First, update your Raspberry Pi by entering the following command.                     sudo apt-get update                                         Next, upgrade installed packages to their latest version by the below command.                       sudo apt-get full-upgrade                               Step 4 Type following command in terminal.                       sudo apt-get remove xrdp vnc4server tightvncserver           Step 5 Type following command in terminal.                       sudo apt-get install tightvncserver Step   6 Opening the Remote Desktop Connection  application on you

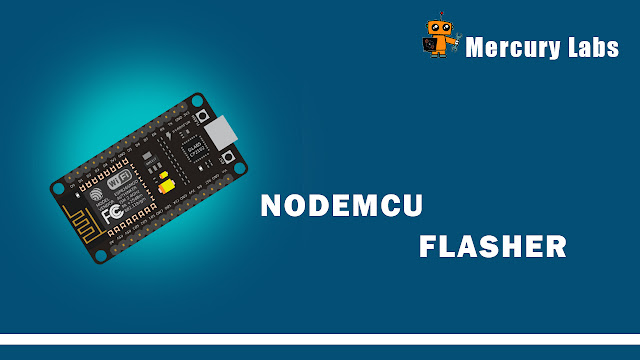
NodeMCU Flasher

Image
NodeMCU firmware in ESP Modules. NodeMCU flasher is a firmware programmer for NodeMCU DEVKIT. It will be cross platform and open source. Equipment         1. NodeMCU         2. Micro USB cable Step 1 Download this link. https://drive.google.com/drive/folders/1S_PLKzsrV63LZTRAMsS5HdAWQ54MiNvV?usp=sharing Step 2 Open the NodeMCU flasher master folder than open the win32/win64 folder as your computer. Now open the folder Release than double click ESP8266Flasher. Step 3 Select the COM Port.  Step 4 Go to config tab. Click on the small gear and open up the firmware. Step 5 Go to the advanced tab. Step 6 Go to the Operation tab. Click on Flash Button. Contact as Pramuditha Ridma Linkedln -  www.linkedin.com/in/ ridmapramuditha Email      - pramuditharidma16@gmail.com                   mercurylabs2019@gmail.com